Snow Scene Shaker Card
I have a little spiral bound notebook that I like to scribble sketches in for possible cards or tags, or whatever. I was flipping through it last night and came across the one that inspired this card. I've been wanting to make a shaker card for a while, so this was the perfect opportunity.
I could have quite easily designed the shaker portion of this card on Design Space and cut the scalloped frame with my Cricut Explore, but to be honest, I have just about every type of crafting supply in my "arsenal" that I feel bad if I don't use them once in a while. That being said, I pulled out my Spellbinders Dies and cut the frame.
I used Post It tape to hold the dies in position and ran it through my Evolution machine. I used the tiny polka dot print paper from the Snowhaven Paper pack.
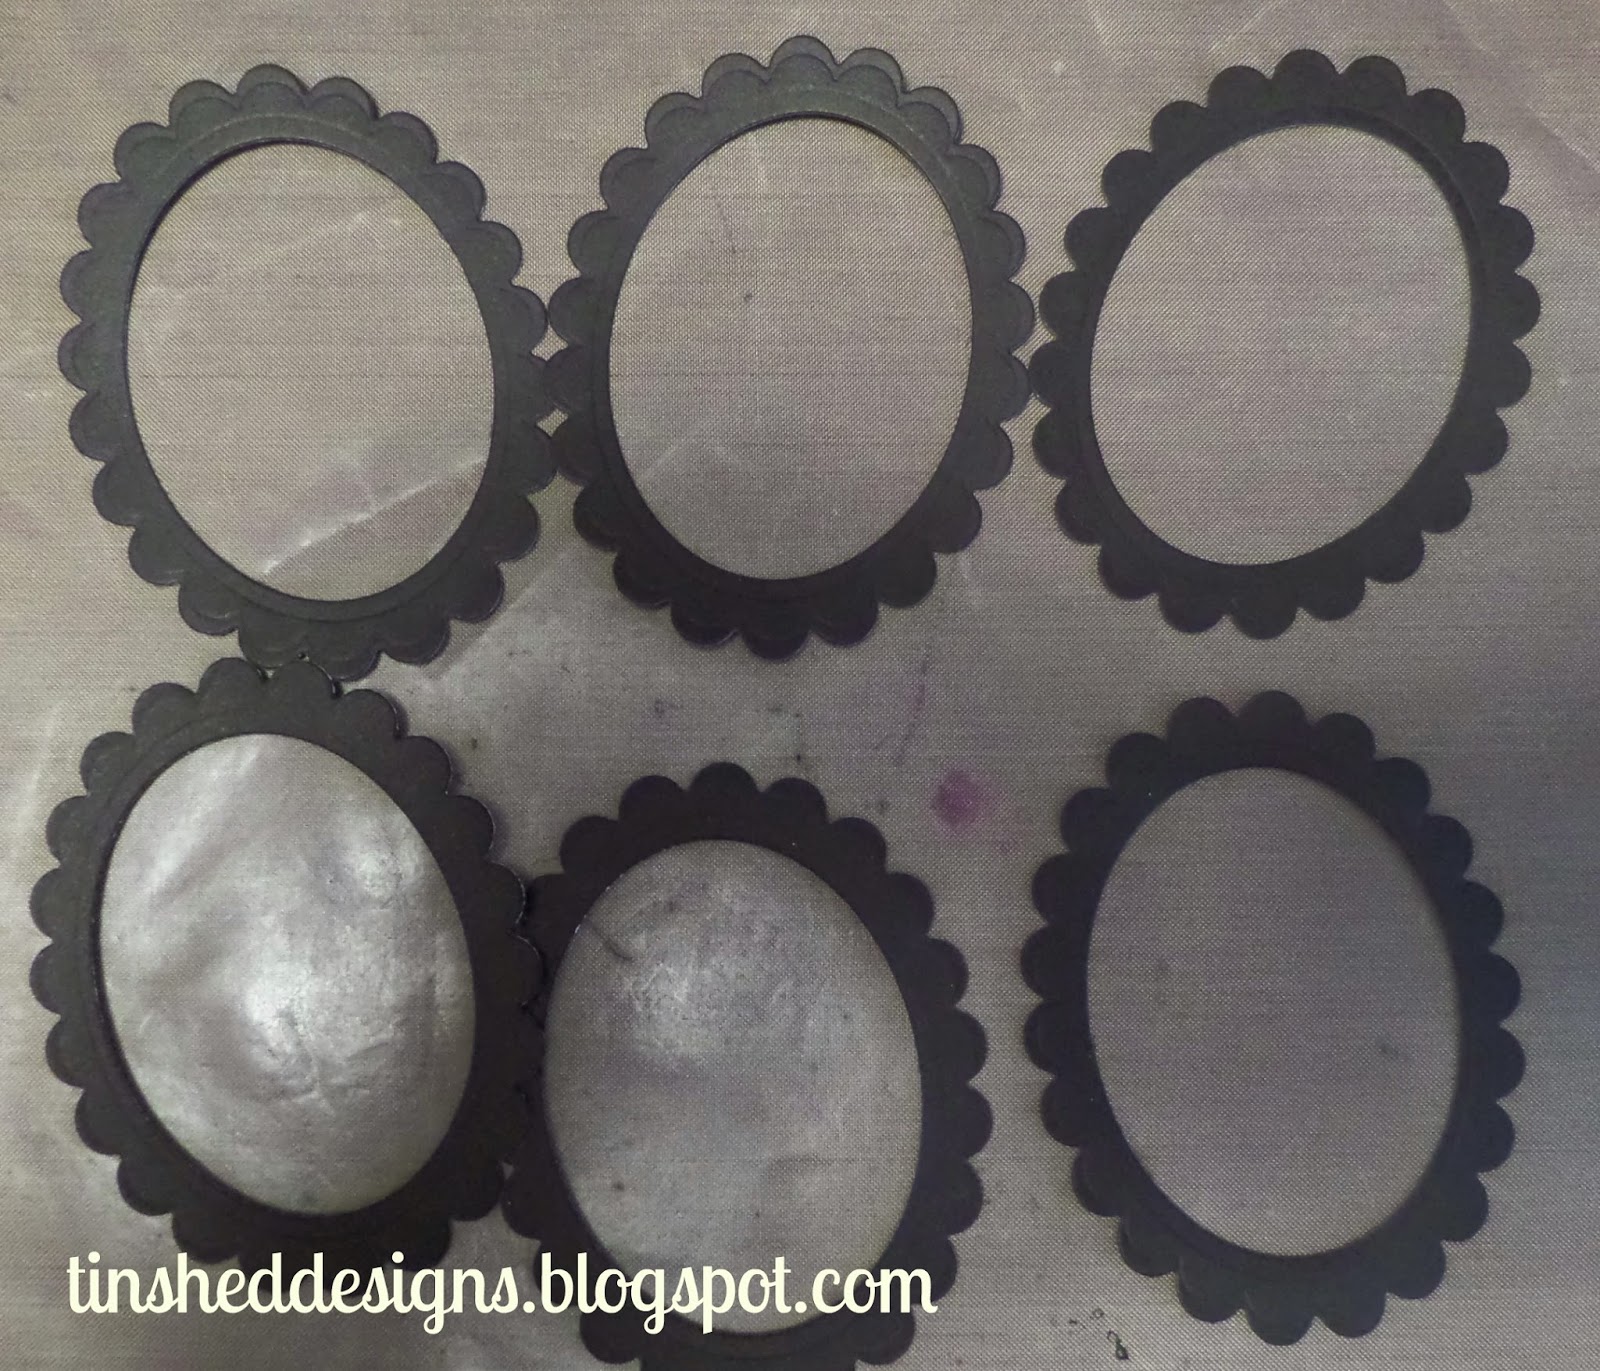
Once the frame was cut, I pulled out some Black cardstock and cut 6 more "frames" so I could create a sturdy space between the frame and the card base for the glitter to have room to "shake", lol.
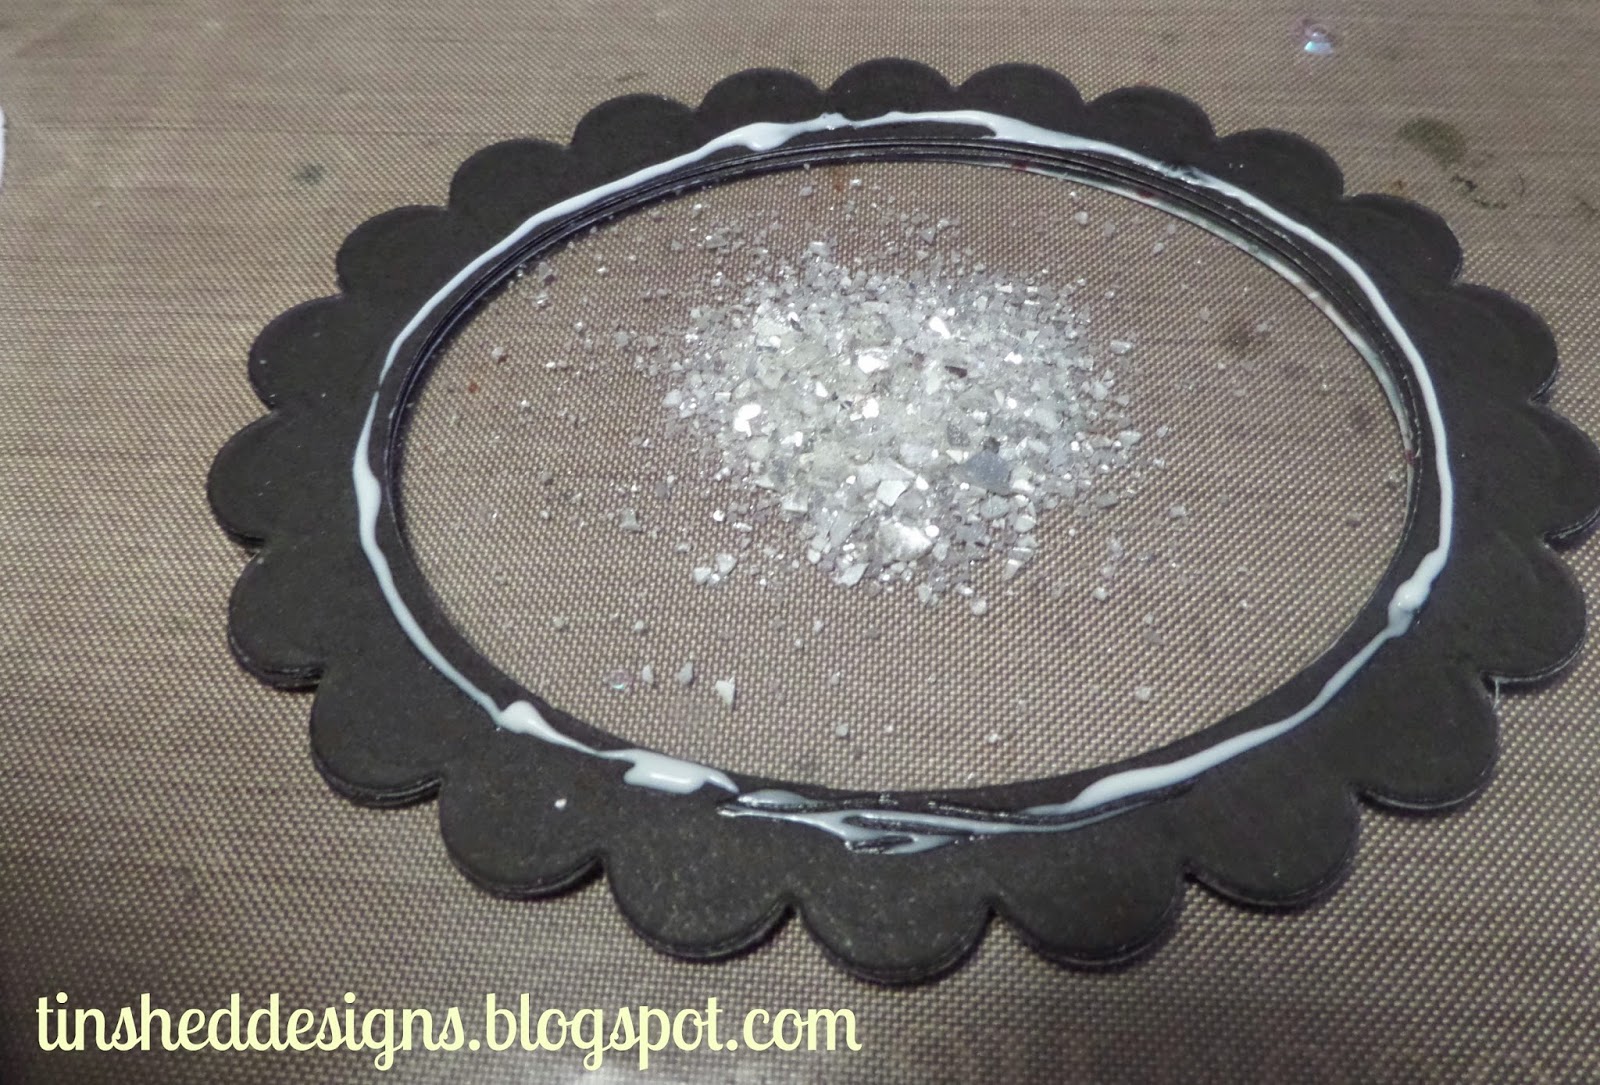
The next step is to glue them frames all together. For this, I used Bonding Memories glue pen, so I'd have a few seconds of "wiggle" time, just to be sure I could get everything lined up.
This is what it looks like when they are all glued together.
Before I glued the printed frame to the stack, I glued a piece of acetate that I had cut to fit behind the frame. I bought a box of transparencies at the thrift store, but you can easily find it for sale at your local office supply.
I glued the transparency to the back of the printed frame, then I added the stack of black cardstock. I set this aside for a bit and worked on coloring the snow scene image to go inside the frame. I used the Frosty Fun stamp set for this image and colored it with my Shin Han markers in:
The reason I use so many colors is because I actually use my colorless blender to pick up color from the other pens and apply it to the image to build up a light layers of color to keep it very subtle.
I sprinkled some home made glass glitter into the window area. You can see the tutorial for making this glitter here.
I used Tombow MonoMulti glue to hold the frame to the colored image. I just wanted to be sure there was plenty of "hold". I could have used liquid glass, but to be honest, my desk was a mess and I couldn't find it, LOL!!! I have trimmed the colored image down to fit behind the frame, and pressed it into place. I set it aside to dry and went onto work on the card base.
I cut the card base from black cardstock to end up as a 5 x 5 inch card. I then cut another piece from the Snowhaven paper pack that is a beautiful tonal look of snowflakes on a black background. I really like that print! It's very subtle. I also cut a strip of Gray glitter paper and cut it into a banner tail. I attached the framed piece over the banner. I decided I wanted my sentiment to be embossed in white, so it would "pop". I used "Winter Wishes from the You and Yours stamp set
I'm showing the picture of the set because I want you to see that the original sentiment is on a single line. I needed it to be stacked, so I cut the sentiment apart. I could have inked up the word separately, but to be completely honest, I didn't want to take any chances that some of the ink would get where I didn't want it, so cutting it was the best option for me. I can easily nest them back together the next time I want to stamp it in a straight line.
I stamped the sentiment in VersaMark ink, and used the White Super Fine embossing powder and melted it with the Craft Heater. The final touch was to add a few sequins from my stash. CTMH carries silver sequins as well as gold, but I wanted to add a touch of aqua to my card, and since I had my box of sequins out, I just used what I had on hand.
Here's one more close up of the shaker portion of the card.
As always, if you have any questions, please just leave it in the comments section.


No comments:
Post a Comment
Please leave any comments or questions here