Saturday, August 30, 2014

New Office Reveal - FINALLY!

It's Finally time to reveal my "New" Office


It took a little longer then I originally expected, but these things always do when I start something like this!  I'm happy to say that the office is all put back together, and with any luck, I'll be able to get back to creating in the next day or so.  

Here's the view from the door, looking in:
  
My space is pretty tiny!  The second picture is the view directly behind my work surface, to the right when you look at the first picture.


The next picture shows the bookcase I face while working, as well as my blinged out t.v.  I always say, glitter makes EVERYTHING better!!!  That goes for rhinestones too!!!

My office has a weird, angled wall going from the wall the door is on to the wall the red bookcase is on.  I keep my cardstock and patterend paper there in the cubes you can get from Micheals.  On top of those, I have my storage bins from Close To My Heart that hold all my current CTMH stamp sets.  


And then there's the wall the door is on:


I have to say, I'm REALLY loving the lighter color on the walls!  It is so much brighter in the office now, and I don't feel like I'm in a cave anymore.  It's still tight quarters, but the new desk makes it super easy to run into the office between ranch chores and work a little on a project.  This last picture is of my office "Mascot" Harley.  He was getting pretty bored with me while I was taking pictures.  I think he's more then ready to get back into a normal routine.  Our whole house has been in shambles for the past few weeks, and I am very slowly getting it put back together.  Can't wait for some "Normal" in my life, lol!!!


Well, that's it for today.  I hope everyone is enjoying the Labor Day Weekend! I'm thinking I might take Harley's lead and get a little lounging in.  Not very likely, but I can hope, can't I?  Chat with you again soon.


Tuesday, August 26, 2014

Chaos update

My, oh my!  What have I gotten myself into?

I had planned posting pictures of previous projects during the onslaught of destruction happening in my little world.  But, as so often happens in this world I live in, one project snowballs into many, many more.  When we last chatted, I was getting a new counter height desk for my office.  This led to painting the cheap paneling, and pulling up the worn out, industrial type carpet.  We had decided to lay new laminate flooring, and of course, that led to laying new flooring throughout the rest of the house.  During all of this, I had bought a fridge Craigslist to replace the old one that came with the house when we moved in.  Unfortunately, the old one never really fit where it was.  The door wasn't able to open all the way, which made getting to the items on the bottom shelf a bit of a problem.  I literally had to lay on the kitchen floor to reach anything that got pushed to the back.  This is not my idea of a dignified way to retrieve groceries, especially when we had company over!  I found a beautiful side by side that would work wonderfully in that spot.  Unfortunately, it never got cold!!! UGH!  I had the repair man come out and give me the bad news.  It would cost at least $800 to fix the fridge.  I'm not going to lie, I cried when he left.  I had paid $350 for this heap, and another $75 for the diagnosis.  A very expensive lesson for me to learn, but from now on, I don't buy appliances from Craigslist.   My darling husband and I went shopping for a new fridge the following weekend.  Not an expense I was planning on dealing with, but, oh well!  

OK, now that you have the "back story", here are a few pictures of the office progress.  Still a long way to go, but I'm hoping to be back to creating in a day or two. (I hope, I hope, I hope!)


In the first picture, you can get a good look at the dark paneling and the floor midway through ripping out the carpet.  Now, I know I said I was going to lay new laminate flooring in the office, but crazy as it may sound, I decided I liked the funky, 70's vinyl that was under the carpet.  It's kind of retro/bohemian/western, which actually works for me.  So I decided to keep the vinyl.  Also, very little of the floor will be showing when all is said and done.

A little more flooring.


YIKES!!!  This is after primer and 2 coats of paint, if you can see it through all the books and junk that got shoved into the room so we could work on the hallway floor.  It's a little embarrassing to show this "aspect" of my life, but I like to keep things real, and honestly, I live in chaos more often then not.  

Now, on to the quick "project" photo.  I created this wreath for the Consultant Showcase at the Close To My Heart Convention last June.  I've had this bicycle wheel laying around for a year or so.  Of course, when I first pulled it out of the trash, my husband was wondering what my plans were.  I didn't know at the time, but I knew I was going to make something!  


I used the Artiste cartridge to cut the flowers, leaves, and butterflies, but various patterned papers.  The largest flowers were cut at 11.5" and the smallest at 5".    This is a super simple project that can be completed in a couple of hours.  

I hope you enjoyed the quick, very candid look into my world, lol!  The desk has been delivered, and put together, and now I just need to get the rest of my stuff put away.  I hope to have new photos tomorrow, but as we all know, ANYTHING can happen between now and then, haha!!!

Stick with me, my dears.  I promise, lots of fun projects are coming very soon.

Monday, August 18, 2014

Oh, The Chaos!!!

Ever have one of those weeks?

Let me begin this post with a little insight to my "ever so crazy" life.  We have a small ranch in Northern Idaho, and it's a wonderful life.  We have MANY rescued animals here, ranging from a tiny 3 or 4 pound Chihuahua, to several 2000 pound Draft Horses and honestly, everything in between.  It's a lot of work, but I truly love it.  What I don't love is that I'm a bit of a clutz!  I seem to fall down more then most people.  I've landed on my knees with great force, at least 5 or maybe more, times, ending up in permanent damage.  Don't get me wrong, I still get around just fine (most of the time).  The reason I mention this is because during one of our severe thunderstorms a couple weeks ago, I was blown clean off our hay trailer's upper deck.  I was trying to cover the last little bit of hay that hadn't yet been unloaded, and the wind caught the tarp, and off I went.  My husband was on the other end of the tarp, and he got knocked down too, but luckily, he wasn't injured.  I, on the other hand, landed right knee first, then forearms, and then, without thought, I did what my husband calls a "Baretta Roll", and managed to avoid any other hard impact to my joints.  The whole point of this long winded tale is to give some background as to the choices I've made in the last 2 weeks that have caused me to live in a state of complete and utter state of chaos.  

Because my knees have sustained SOOOO many injuries, getting up and down from my desk to grab supplies has become very difficult.  My darling husband and I talked about the options, and decided it was time to get a "counter height" desk so I could stand most of the time, and a comfy stool for when I wanted to sit.  In order for this new desk to fit in my teeny tiny office, I would have to remove the craft armoire I've used for several years.  I also need to remove the writing desk and office chair to make the proper amount of room .  While we are at it, we are putting new flooring in, and I'm going to paint the walls.  At the moment, I have the super cheap paneling in the office, and to be quite honest, it looks like the inside of a trailer on a construction site.    Here's a couple pictures of what it looked like a few days ago:


See what I mean about the really tacky paneling?!?!?  (The purple bowl is for my kitties)  This is the view from the door.  The second picture is the view standing opposite the bookcase:


And this last picture is the wall the door is on:


That all being said, my office is now scattered ALL over the house in boxes, bins and to be completely honest, piles!  I am hopeful that by this time next week, I will the "after" pictures.  Because all my supplies are scattered throughout my house, I can't work on any projects for the blog.  Not to mention the complete "time suck" redecorating my office is going to be!!!!  No worries though, I have some pictures of projects I've made in the past that I plan to share.  There won't be any "in progress" type pictures, but if you have any questions about any of the pictures, feel free to either leave a comment, or email me.

Thanks for stopping by!!!


Thursday, August 14, 2014

Seaside Picture My Life 

Tin Shed Designs Style


Today, I decided to play with the Seaside Picture My Life and make a cute piece of art for my studio.  For those of you that don't really know me, I should tell you, I LOVE vintage photos and a have a warm spot in my heart for Pin Up girls from the 40's and 50's.  There are several cards in this set that work beautifully with the vintage Waterskier I wanted to use.  I did a simple Google search and found the lovely lady.


I pulled out the Pennant Frame (shadow box) that I've been planning on decorating, as well as the Seaside Workshop on the Go.  I wanted to use the components of the kit for this project.  I used the Artbooking™ cartridge to cut the pennant frame shape on pg 76 at 9.5" from the polka dot paper.  Then I cut a piece of cardboard to create the backing and covered it with the opposite side of the polka dot paper, which looks like painted weathered wood.  The one little secret I have to share about this part of the project is that on the back side of the frame, there are 4 little corners to hold in the artwork.  Since I wanted a stable backing to my project, I gently removed 2 of the corners and cut a piece of cardboard to fit the opening.  Once I had the backing prepared, I put it into place and hot glued the corners back on.  Then I put a dab of hot glue in each corner and pressed the backing into the corners for a snug fit.

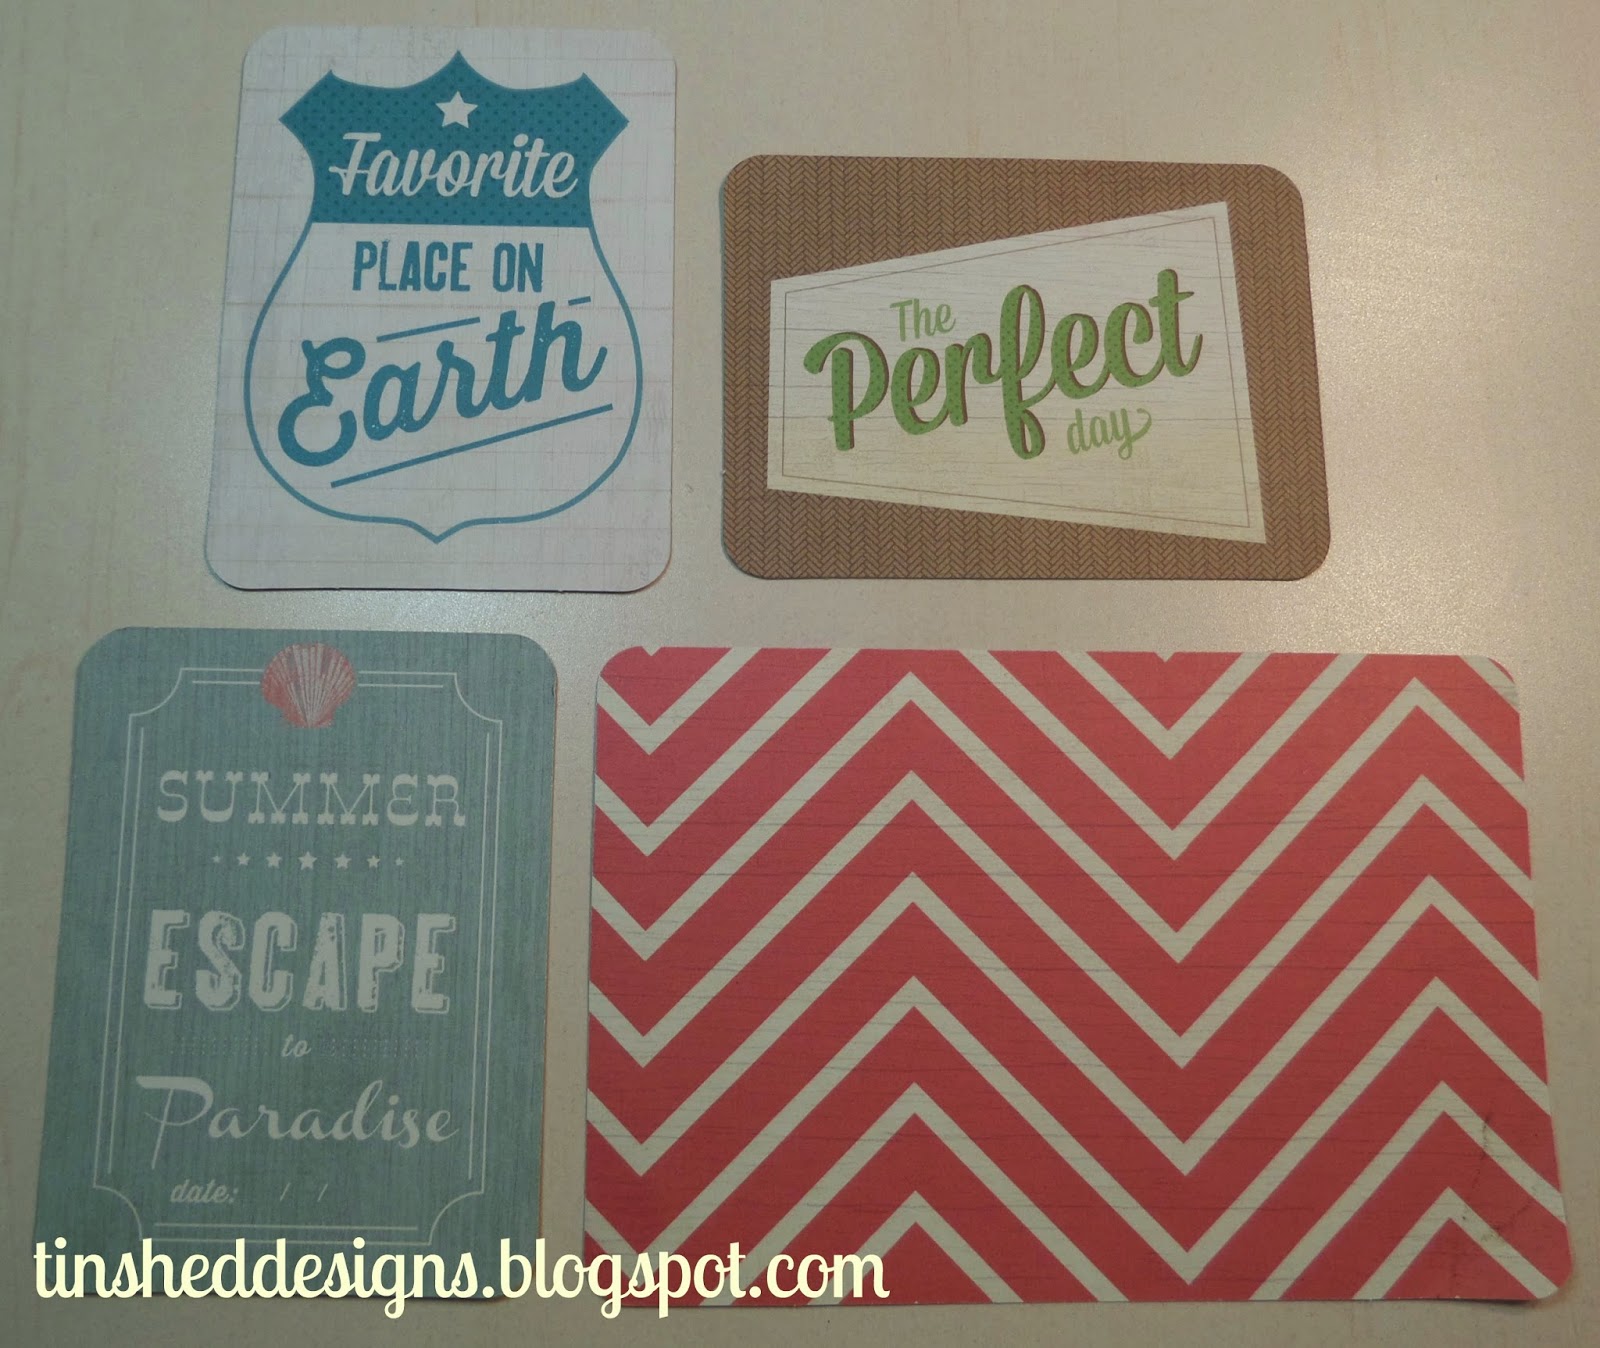
The next step was to go through the Seaside Picture My Life cards and find what I wanted to use in the art piece. 

I really liked the look of the Sorbet colored chevron stripe for the matting of the picture of the waterskier, so I centered it onto the card and trimmed a little off the top and bottom of the PML card.  I mounted the matted picture to the backing with the new Thin 3-D foam tape.  I also cut the shield shape out of the "Favorite Place on Earth" card, and inked the edges with Cocoa ink, just to give it a nice finished edge.  I added 3 of the Aqua Dots from the Workshop on the Go kit.  

I used 2 layers of the regular 3-D foam tape to lift the shield enough to clear the picture.  From the "Summer Escape to Paradise" card, I cut the word Paradise out.  I trimmed one side straight, and the other with a flag tail.  I added 3 more of the Aqua Dots to the straight edge, then bent it to give it a "blowing in the breeze" look. I used the hot glue to secure the flag to the base. 

 I could have used pretty much any glue, but since the hot glue gun was oozing all over my new All Purpose Mat, I figured I'd use what was close at hand.  Speaking of the the new Mat, I have to say, I LOVE THIS THING!!!  I have more then one of the Ranger brand mats, and while I love how easy it is to clean stuff off them, I have never liked the fact that they always roll up on the edges, and it wants to slip around all over my work surface.  The CTMH mat lays flat directly out of the box.  Also, one side is super slick, just like I'm used to.  The other side is kind of like the silicone mats I use in my oven, a little sticky, for lack of a better description.  This thing STAYS PUT!!!  Anyway, back to the project, lol!!!

It was time to decorate the outer portion of the frame.  I already knew I wanted to make a Rosette, so I pulled out my Artiste™ cartridge and cut 2 of the Rosettes on page 50 at 11.5" from Sorbet card stock.  You need 2 in order to get the length necessary to make this rosette.

I used my new Explore machine to cut this out, which has a "score" function, which I must admit, is FABULOUS!  I was able to quickly pleat the paper and make my rosette.  Then I cut a scrap piece of the painted wood grain paper into a scalloped circle.  For this I used my Art Philosophy™ cartridge, on page 41 at 3".  You can certainly use a large scallop punch if you have one.  I used Liquid Glass on the outer edges and then dumped some of my home made Glass Glitter (see previous post for directions to make the glitter), and set it aside to dry.  While I was waiting for the liquid glass to dry, I worked on the little rosette in Polka Dot paper.  I simply cut a strip of paper 3/4" wide and 12" long and scored it every 1/4" on the new Score Board.  As before, I pinch pleated the strip and made another rosette.  I stamped the sentiment in Cocoa ink on a scrap of Seaside paper and then cut it with a 1 1/2" circle punch.  If you have the Cricut cartridges, you can cut the circle quite easily, but to be honest, I have a much easier time lining things up with the circle punch.  I also took some tulle and made a ruffle for the backside of the rosette.  I took "The Perfect Day" card and cut the sentiment out to use as a flag for the rosette.  I used hot glue to adhere each layer.  I also used the hot glue to hold the rosette in place on the frame.  


The final touch was adding 3 of the shell charms that came in the Workshop on the Go kit. 

That's it!  Super easy, and super cute, if I do say so myself, lol!

Wouldn't this be adorable with a Vintage Cowgirl Pin Up as the picture?  Of course I'd skip the nautical stuff, but otherwise, I think many of these elements would work great in a cowgirl piece.  What do you think?

Supplies Used:


Monday, August 11, 2014

Picture My Life Cards


If you've looked at my "Specials" page, you'll know that one of the Specials for the month of August is the Picture My Life™ Scrapbooking Program. With any PML purchase, you are eligible to add your choice of 1 of 8 qualifying Memory Protectors™ 10 - packs for just $3.00!  Each Picture My Life Scrapbooking program™ already includes a coordinating 10 - pack of Memory Protectors, so when you add your additional 10 - pack for only $3.00 you'll be well on your way to your own picture perfect pocket scrapbooking adventure!

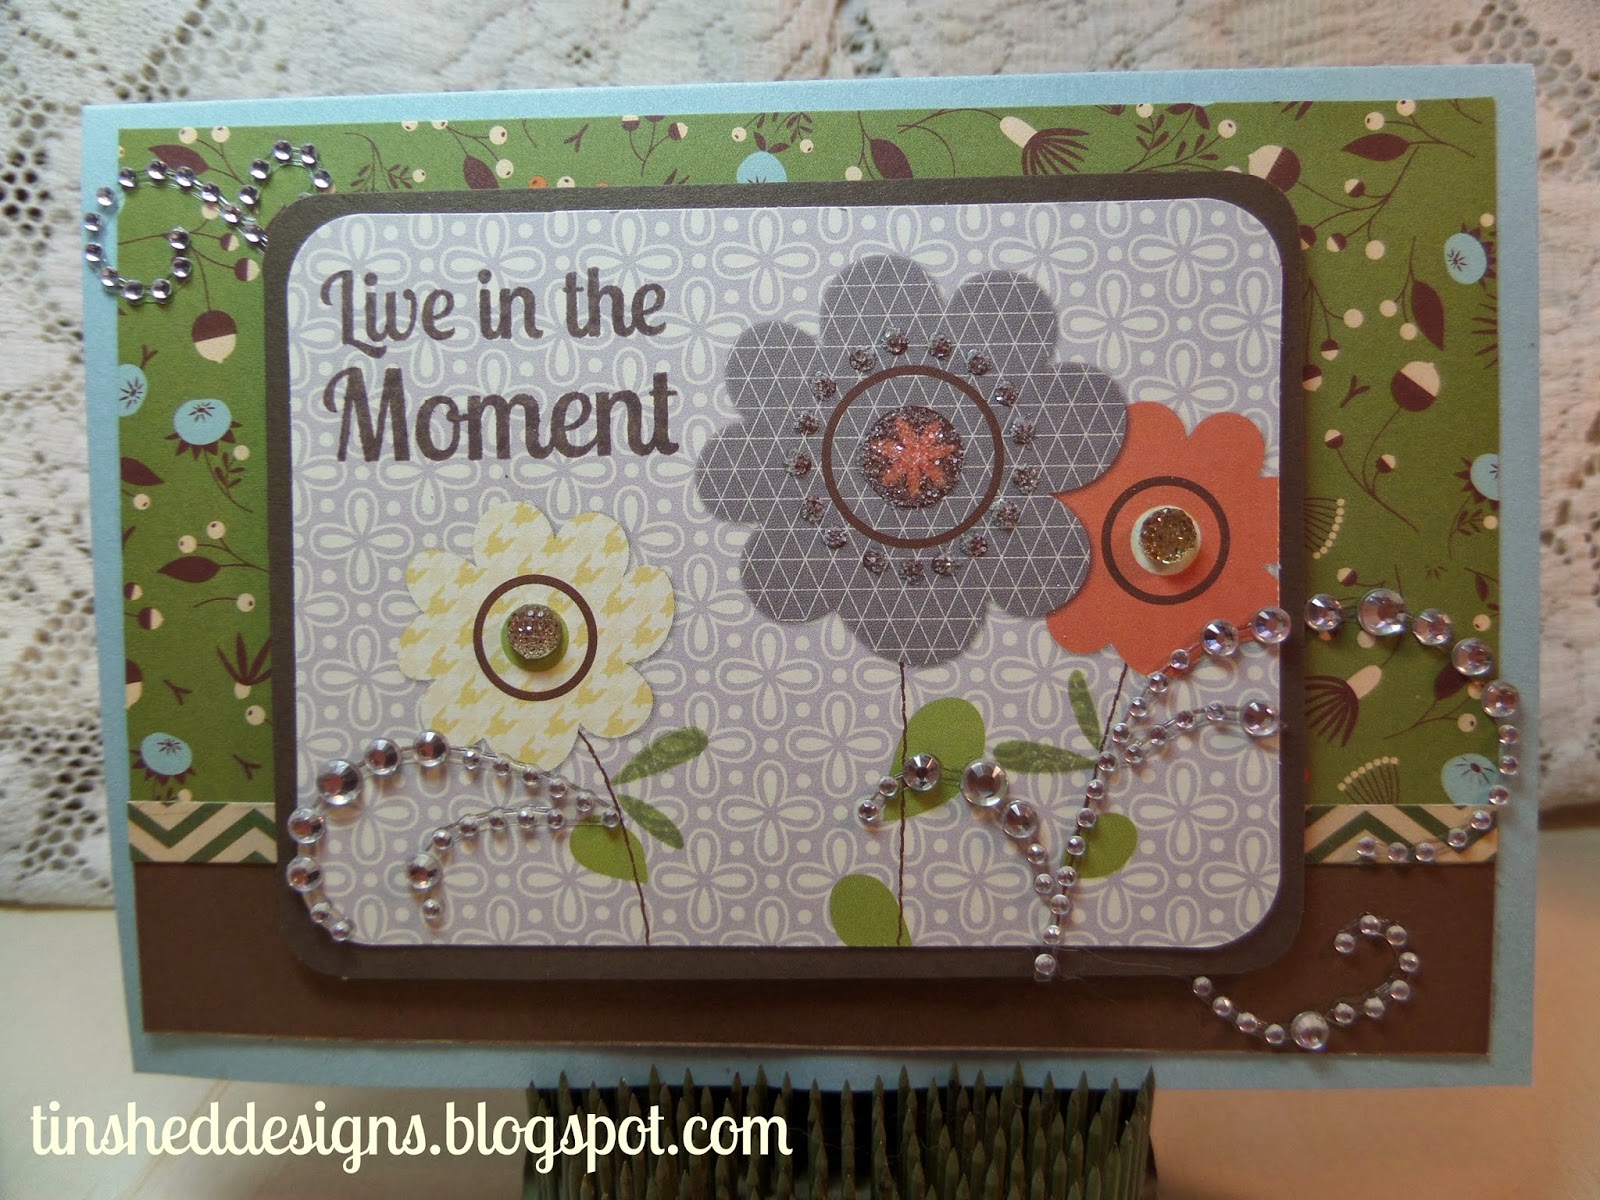
Of course, I had to play around with them and today's post is using the Picture My Life™ cards to create some quick and simple greeting cards. Today, I'm using the Babycakes set, as well as the Wanderful paper pack.  I also used the August Stamp Of The Month set - What a Hoot - on one of the cards.  


For the first card, I stamped the owls directly onto some scraps of Pathfinding patterned paper and cut them out.  I paper pieced the owls, and then used our new ShinHan Twin Touch Markers™ to add a little shading to the owls.  OK, I realize CTMH doesn't sell googly eyes, but how could I resist?!? I really think the eyes totally make them adorable!  The background is one of the Picture My Life cards, cut down just slightly.  I stamped the "Dream Big" sentiment in Cocoa ink directly onto the PML card.   I layered it on a piece of Chocolate cardstock.  The card base is cut from Whisper cardstock. The branch the owls are perched on is from the "Owls" stamps set.  I used Cocoa ink on Chocolate cardstock and then just cut it out.  I used a few small pieces of Washi tape to just add a little extra pop.  

This was the only card in this set that I put an inside sentiment on.  I just felt it was fitting for the cute little upside down owl on the front, lol!

The next card was super quick, and great for any occassion.  


I mounted one of the small cards in the PML set onto a piece of Cocoa cardstock then added some Sparkle Flourishes that I cut to fit the area, and a couple Gold Bling Gems.  For the large flower, I used a liquid glass to adhere some clear glitter from my stash.  

I used the Pathfinding paper pack again, as well as a bit of Chocolate cardstock.  The base is cut from Glacier cardstock.  

The third card in this group had a bit of fussy cutting, but otherwise, it's another quicky

.  I cut the clouds from one of the large PML cards and layered on a piece of  Pathfinding patterned paper.  Then, I cut the birds from another PML card.  I mounted some of the clouds and a couple of the birds with foam tape to add some dimension to the card.  I used another Sparkle Flourish to give a little movement to the clouds. 

 I used a couple of the teeny tiny sparkles to add eyes to the 2 smaller birds and one of the Gold Bling Gems for the larger bird.  I stamped the sentiment on a scrap of Glacier cardstock in cocoa, and cut into a flag.  Then I layered it on piece of chocolate cardstock.  I also added a little extra color to the smallest bird because it's the same color as the cloud right behind it.  Once again, I used the ShinHan Twin Touch markers.

That, my darlings, is all there is to today's post!!!  I hope you think about looking at the Picture My Life Program™ with a different perspective.  While I love using them in the way they were intended, I also really enjoy finding other ways to use my paper crafting supplies.

Check back on Wednesday for another way to use the Picture My Life Program™


Supplies Used:

Z1943  ­       Picture My Life™ Scrapbooking Program
S1408         What a Hoot Stamp of the Month 
B1450         Owls stamp set
D1627         Your Own Kind Of Wonderful  stamp set
C1589         Lifetime of Happieness stamp set
D1616         Have a Happy Day stamp set
X7186B      Pathfinding Paper Packet
X5929        Whisper Cardstock
X5772        Glacier Cardstock
X5642        Cocoa Cardstock
X5643        Chocolate Cardstock
X2114        Cocoa Stamp 
Z1812         Sparkles Clear Flourishes - small
Z2023         Bling Gems Gold Assortment
Z1151         3 - D Foam Tape
Z679           Liquid Glass
Z2467         ShinHan Warm Grey4
BR116         Clay
YR24          Marigold
WG7           Warm Grey 7
YR29          Barely Beige
Z2005         Sunset Chevron Washi Tape
Z1931         Honey Triangles Washi Tape
Z2002         Topiary Striped Washi Tape

Saturday, August 9, 2014

All Together Now!


Here's a quick little recap of the previous week's posts, all hung together.  I was looking through my stash of vintage photos, post cards and other ephemera, in hopes of finding a beautifully hand written letter to hang from the memo board, but never found the box of letters I was looking for.  We've had some pretty severe weather over the past couple of weeks, so getting these posts up has been a HUGE challenge, lol!  Primarily due to multiple power outages lasting days at a time.  It's certainly been an adventure!  We operate a Rescue/Sanctuary Ranch, and Summer is probably the craziest time of year around here at the best of times.  When our power goes out, so does the pump to our well, and we have no way to provide much needed water to the horses, donkeys and cow.  With temperatures reaching 100 +, water is more important the food.  So, with all that said, I'm thrilled to at least have made it through the process of getting these posts up, haha!  In fact, this picture was taken outside because I had no power in the house to take the photo.  One thing living on the ranch has taught me is to improvise!!!

As you can see, I took a frame I literally picked up on the side of the road, in pieces, added some bead board as backing, and hung my silver tray collection.  I'm really happy with how it all looks together.  Now, I have to admit, I'm one of those girls that likes to really fill every blank space with something to look at.  If I had enough time to continue with this idea, I would have made a few more "photo" trays to hang with this collection.  Since the first tray I made hangs horizontally and the last one I made hangs vertically (I didn't really think the composition through at the time of creation) I needed to add something to the horizontal tray to even the look out.  That picture is actually my Great Grandmother, the only real relative in the bunch, haha!  I have a feeling I'll be making more of these when the crazy days of summer have slowed down a little bit.

Here's a recap of the supplies used in these projects:

Supplies Used:


Yuletide Carol Paper Pack                                 X7187B
Slate Diagonal Ribbon                                         Z1989
Base and Bling charms: 
Arrow                                                                  Z2024
Heart                                                                    Z1959
Cotton Candy Re-Inker                                         Z2744
In the Background stamp set                                 D1540
Silver Sequins                                                      Z2013
Gold Sequins                                                        Z2012
Brown and Tan Sparkles                                      Z1753
Silver Embossing powder                                    Z2067
Versamark Ink                                                         Z891

Sanding Kit                                                           Z1294
Hello Wonderful stamp set                                   B1443
Colonial White cardstock                                       1388
Desert Sand Ink                                                     1273
Adhesive Strips                                                    Z1904
Edge Distresser                                                    Z1297
Mini Stapler                                                         Z2027
Sponge Dauber                                                      Z726
Colonial White cardstock                                      1388
Versamark Ink                                                       X891
Gold Embossing Powder                                     Z2066
Adhesive Strips                                                   Z1904
Hello Wonderful stamp set                                  D1443
Antique Silver Chain                                           Z1940
Base and Bling "Dreamer" charms                      Z1955
Base and Bling Rhinestones                                Z1978
Base and Bling "Journey" stickers                      Z2054
Base and Bling Oval Pendant                             Z2008 
Base and Bling glass cover                                Z2011


Liquid Glass                                                        Z679

If it isn't listed here, it's a vintage find from my extensive collection.  

Also, don't forget to check out my "Specials" page.  This is where I will list monthly special offers.  These will not only be regular special offers by Close To My Heart, but also limited time offers exclusive to my site.  Check back often, because my exclusive offers will be added randomly throughout the month.


Friday, August 8, 2014

Home Made Glass Glitter

Home Made Glass Glitter


I have always loved vintage ornaments, especially the ones with German Glass Glitter.  After looking everywhere for a source, I quickly realized how crazy expensive it is.  The average price I found was $14 for 1/2 oz!  I saw a post on Pintrest for "making your own german glass glitter" posted from the blog Patina White.  She uses a rolling pin to make the glitter, but I'll be honest, I was hurting myself with the shards of glass that were getting stuck in the rolling pin.  I basically made my own version of a torture devise!  I had lots of little cuts on my hands and decided I was going to try another way.
Here's my take on the process:

I hit the thrift stores as soon as they started putting the Christmas stuff out and picked up several boxes and baggies of glass Christmas balls.  These pretty pink ones came in this baggie, and there was a dozen ornaments for $1.99.  For my little demo, I took 4 of the ornaments (one was already broken) and put them back into the baggie.  Now, let me just say, you want a pretty substantial baggie.  Something like a freezer baggie.  Anything thinner will not survive this process!


Get out your trusty hammer and GENTLY start breaking the ornaments.  You just want to gently tap at the broken pieces until they get to about this consistency.


I have an inexpensive coffee grinder I keep in my craftroom for projects like this.   You will pour the very chunky glass shards, (remember, this is broken glass. BE CAREFUL!)
into the grinder.


Put the top on and pulse the motor about 10 times.  Check the consistency.  If it's still too chunky, pulse a couple more times.


I like my glass glitter chunky, so this is where I tend to stop.  I will admit, there are a few pieces that are too big still, but I just pick them out with tweezers and crush them down.  You can keep going and get a much finer glitter.  Now you just put it into the container of your choice (I like to use baby food jars) and you are ready to add sparkle and shine to whatever your heart desires!


I hope you try this.  I use tons of it for Christmas and Valentines.  I also really love it for Halloween decorations.  I have read that the silver used on the inside of the ornaments will tarnish, as time goes by, which I love, but if you don't want that vintage look, you can spray your project with a sealer, and you shouldn't have any problem with tarnishing.